
Deconstruction of a lighter: Progress


For my reverse engineered object I had first chosen a lighter though after realizing I could not take it apart without destroying it I chose to the "Bic" lighter, a commonplace lighter sold around the world. 
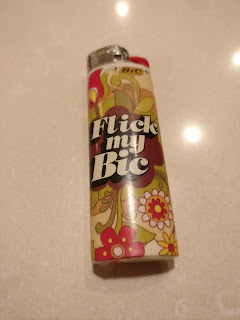
(Flick my Bic? that just sounds wrong)

(The Bic Dissembled)
Oval shape for the lighter

The Lighter  body curve extruded and caped

overlapping and oval with and oval trim to the shape  of the  red plastic lighter gas button and metal flame housing

Post triming

Once curveextruded we have the two approximattive shapes

I then created the  springs using the  "spiral command" and counting the spirals on each of the lighter springs./


extruded cylinder for the easy to model flint
flint capped and shaded
gas  nosel approxamitive  shape

Spark wheel: a circle and 60 pointed star


Curve extruded rigged parts and center cylinder

caped spark wheel
Everything modeled so far


All in all I have done approximate shapes of all the components of this reverse engineered Bic lighter, time to star taking measurements with the digital caliper to make everything to the proper scale and refine the forms and assemble them together.


Comments

Post a Comment

Popular posts from this blog

Deconstructing an iconic American design

For my reverse engineered object I chose the Zippo lighter, invented by George G. Blaisdell in 1933, the lighter is a staple of american design and symbol of american military history, the design virtually unchanged to this day.  Zippo lighter seperated from shell  I chose this object because It is small and easily deconstructed (mostly: i have to figure out how to take apart some inside parts of the lighter if i choose to model them). looking into the lighter   I also chose this object because I can see the shapes that would make its form in Rhino such as the cylinder flint lighter and the holes drilled through the lighter module that would involve subtracting cylinders from a round cornered hollow rectangle. the lighter component I'm going to have to learn a great deal about three dimensional modelling to execute this correctly but it's going to be fun.

"Cool" glasses paper + cardboard prototype

For my prototype I began in 2D sketching from my rhino file, though changing the arms i had originally planned by directly running them from the back of the round lenses in an effort to make the glasses look more designer"esque" and less goofy. I still currently want to pursue my concept of commenting on material culture and the ephemeral nature of apparel such as glasses. I then traced and layered cardboard to add thickness and create the form. I then glued the layers together with a glue stick. I then used the same process to create the nose bridge using only 2 cardboard layers. I rolled paper to create stretched cones to act as the arms of the glasses, also reminiscent of icicles. I then hot glued the arms to the frame  finished prototype I'm looking forward to feedback tomorrow and am looking at ideas of incorporating more references to ice and the cold into the design of the glasses.